48 lines
2.0 KiB
Markdown
48 lines
2.0 KiB
Markdown
+++
|
||
author = "FlintyLemming"
|
||
title = "【归档】制作PE启动盘"
|
||
slug = "4c939df6a24747988ecc920637c944c8"
|
||
date = "2019-10-09"
|
||
description = ""
|
||
categories = ["Windows"]
|
||
tags = ["PE"]
|
||
image = "https://hf-public-source.mitsea.com:8840/images/blog/posts/2019/10/%E5%88%B6%E4%BD%9CPE%E5%90%AF%E5%8A%A8%E7%9B%98/title.avif"
|
||
+++
|
||
|
||
> 本文面向普通用户,所以就不介绍微软官方提供的PE制作方法了,并且那个方法制作出来功能比较少,操作也不方便
|
||
|
||
> 如果你是 macOS 用户使用虚拟机操作,强烈建议你在使用这类软件前关闭虚拟机的文件共享功能,即卸载所有共享分区
|
||
|
||
### 下载 PE 制作工具
|
||
|
||
我这里选择的是优启通,这类软件一大堆,选一个就行,我用的这个主要是没广告并且支持NVMe
|
||
|
||
从优启通 [官网](http://www.uqitong.top/) 下载工具,这里推荐下载UEFI版
|
||
|
||

|
||
|
||
### 安装工具
|
||
|
||
下载好直接双击exe文件安装就行,这个软件没有捆绑,选择好路径就行
|
||
|
||
### 制作启动盘
|
||
|
||
1. 插上U盘
|
||
|
||
2. 打开软件
|
||
|
||
3. 在这个位置选择刚刚插入的U盘,如果没有看到U盘,尝试重新插入,并点击刷新
|
||
|
||

|
||
|
||
4. 一般情况什么都不用设置,直接点击“一键制作启动U盘”
|
||
|
||

|
||
|
||
5. 等待制作,这个过程还是有一会的,尤其是如果你用的是USB2.0速度的U盘
|
||
|
||
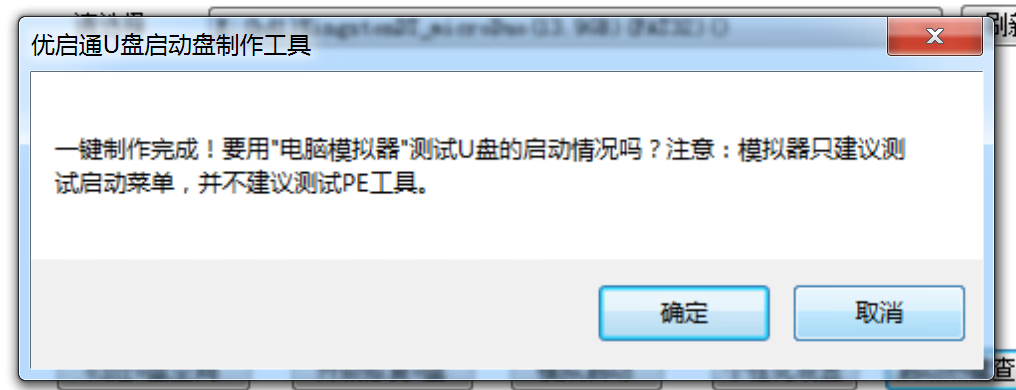
6. 出现下面的提示就说明已经制作好了,这里不用测试,点击取消
|
||
|
||

|
||
|
||
然后你可以进行之后的操作了 |