151 lines
5.1 KiB
Markdown
151 lines
5.1 KiB
Markdown
+++
|
||
author = "FlintyLemming"
|
||
title = "AMD AI MAX+ 395 安装 ROCm 环境"
|
||
slug = "eLZyGq6ja6LGxCLTPZfcE"
|
||
date = "2025-06-16"
|
||
description = "折腾人"
|
||
categories = ["Consumer"]
|
||
tags = ["AMD", "AI"]
|
||
image = "https://img.flinty.moe/blog/posts/2025/06/AMD%20AI%20MAX+%20395%20%E5%AE%89%E8%A3%85%20ROCm%20%E7%8E%AF%E5%A2%83/europeana-05V1vhKRdc8-unsplash.avif"
|
||
+++
|
||
|
||
> ❗本教程实际上只是引导你安装了一个测试版的 ROCm 环境,随时都会随着正式版的发布失效
|
||
|
||
## 参考文档
|
||
|
||
下面的步骤主要参考以下三篇文档
|
||
|
||
[ROCm/TheRock Release 安装指南](https://github.com/ROCm/TheRock/blob/main/RELEASES.md "ROCm/TheRock Release 安装指南")(主要就是看这个)
|
||
|
||
[在 ROCm 上使用 Pytorch](https://rocm.docs.amd.com/projects/install-on-linux/en/develop/install/3rd-party/pytorch-install.html "在 ROCm 上使用 Pytorch")(在这里可以参考 pytorch Docker 镜像的使用方法)
|
||
|
||
[在 Radeon 显卡上安装 ROCm](https://rocm.docs.amd.com/projects/radeon/en/latest/docs/install/native_linux/install-radeon.html "在 Radeon 显卡上安装 ROCm")(在这里可以参考基本驱动的安装)
|
||
|
||
## Docker
|
||
|
||
Docker 是最简单的,只需要先获取镜像
|
||
|
||
```bash
|
||
docker pull ghcr.io/rocm/therock_pytorch_dev_ubuntu_24_04_gfx1151:main
|
||
```
|
||
|
||
|
||
然后运行镜像即可
|
||
|
||
```docker
|
||
docker run -it --cap-add=SYS_PTRACE --security-opt seccomp=unconfined \
|
||
--device=/dev/kfd --device=/dev/dri --group-add video \
|
||
--ipc=host --shm-size 8G ghcr.io/rocm/therock_pytorch_dev_ubuntu_24_04_gfx1151:main
|
||
```
|
||
|
||
|
||
## Python 虚拟环境
|
||
|
||
### 准备工作
|
||
|
||
通过 Python 安装 ROCm 前,需要进行一些准备工作
|
||
|
||
1. 安装 AMD 图形驱动,适用于你已经在使用 Ubuntu Desktop,主要是要把 dkms 装上
|
||
```bash
|
||
sudo apt update
|
||
wget https://repo.radeon.com/amdgpu-install/6.4.1/ubuntu/jammy/amdgpu-install_6.4.60401-1_all.deb
|
||
sudo apt install ./amdgpu-install_6.4.60401-1_all.deb
|
||
# 只安装图形驱动,不要在这一步安装 ROCm
|
||
sudo amdgpu-install -y --usecase=graphics
|
||
|
||
```
|
||
|
||
2. 手动添加用户到组(或者用 udev 也行)
|
||
```bash
|
||
sudo usermod -a -G render,video $LOGNAME
|
||
```
|
||
|
||
3. 重启设备
|
||
|
||
### 版本确认
|
||
|
||
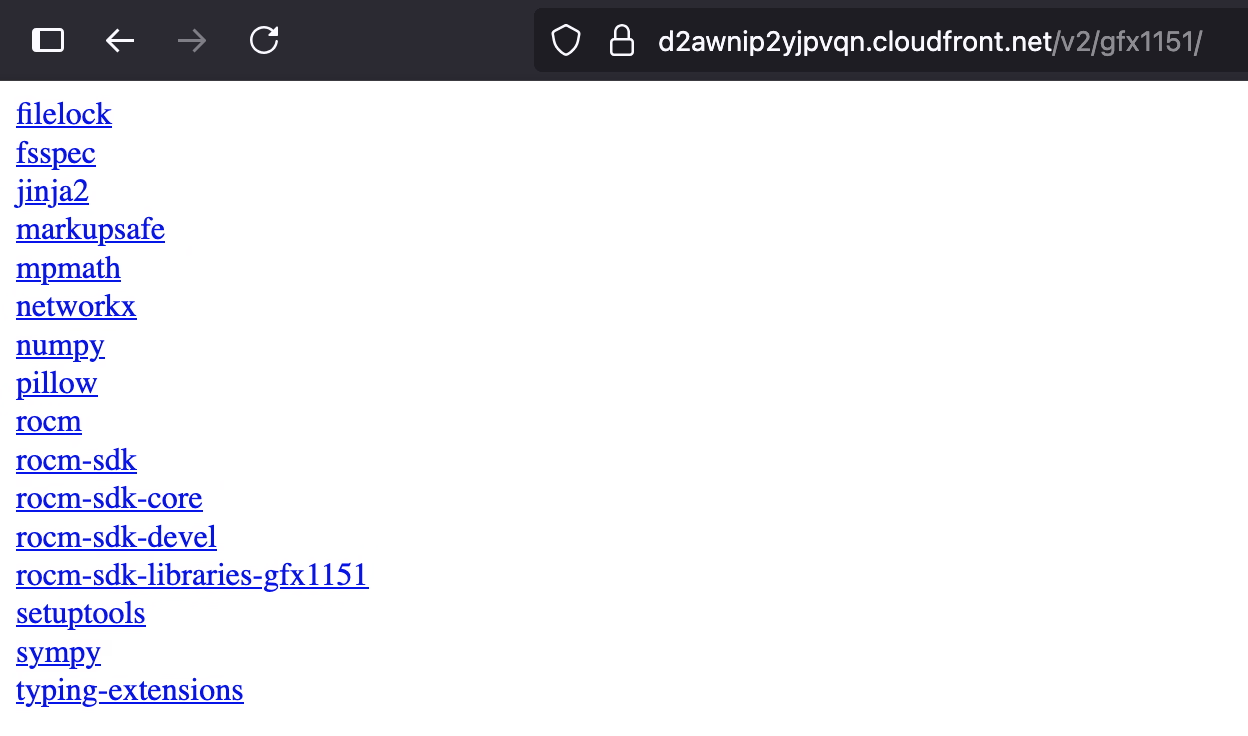
然后就可以安装 ROCm Python 包了,这里假设用的是 conda,但是他版本管理一坨,这里我们需要先看一下[这个地方](https://d2awnip2yjpvqn.cloudfront.net/v2/gfx1151/ "这个地方")有没有上传 pytorch,我写的时候是没上传的
|
||
|
||
|
||
|
||
所以你按照它的文档是装不了 python,因为他压根就没上传
|
||
|
||
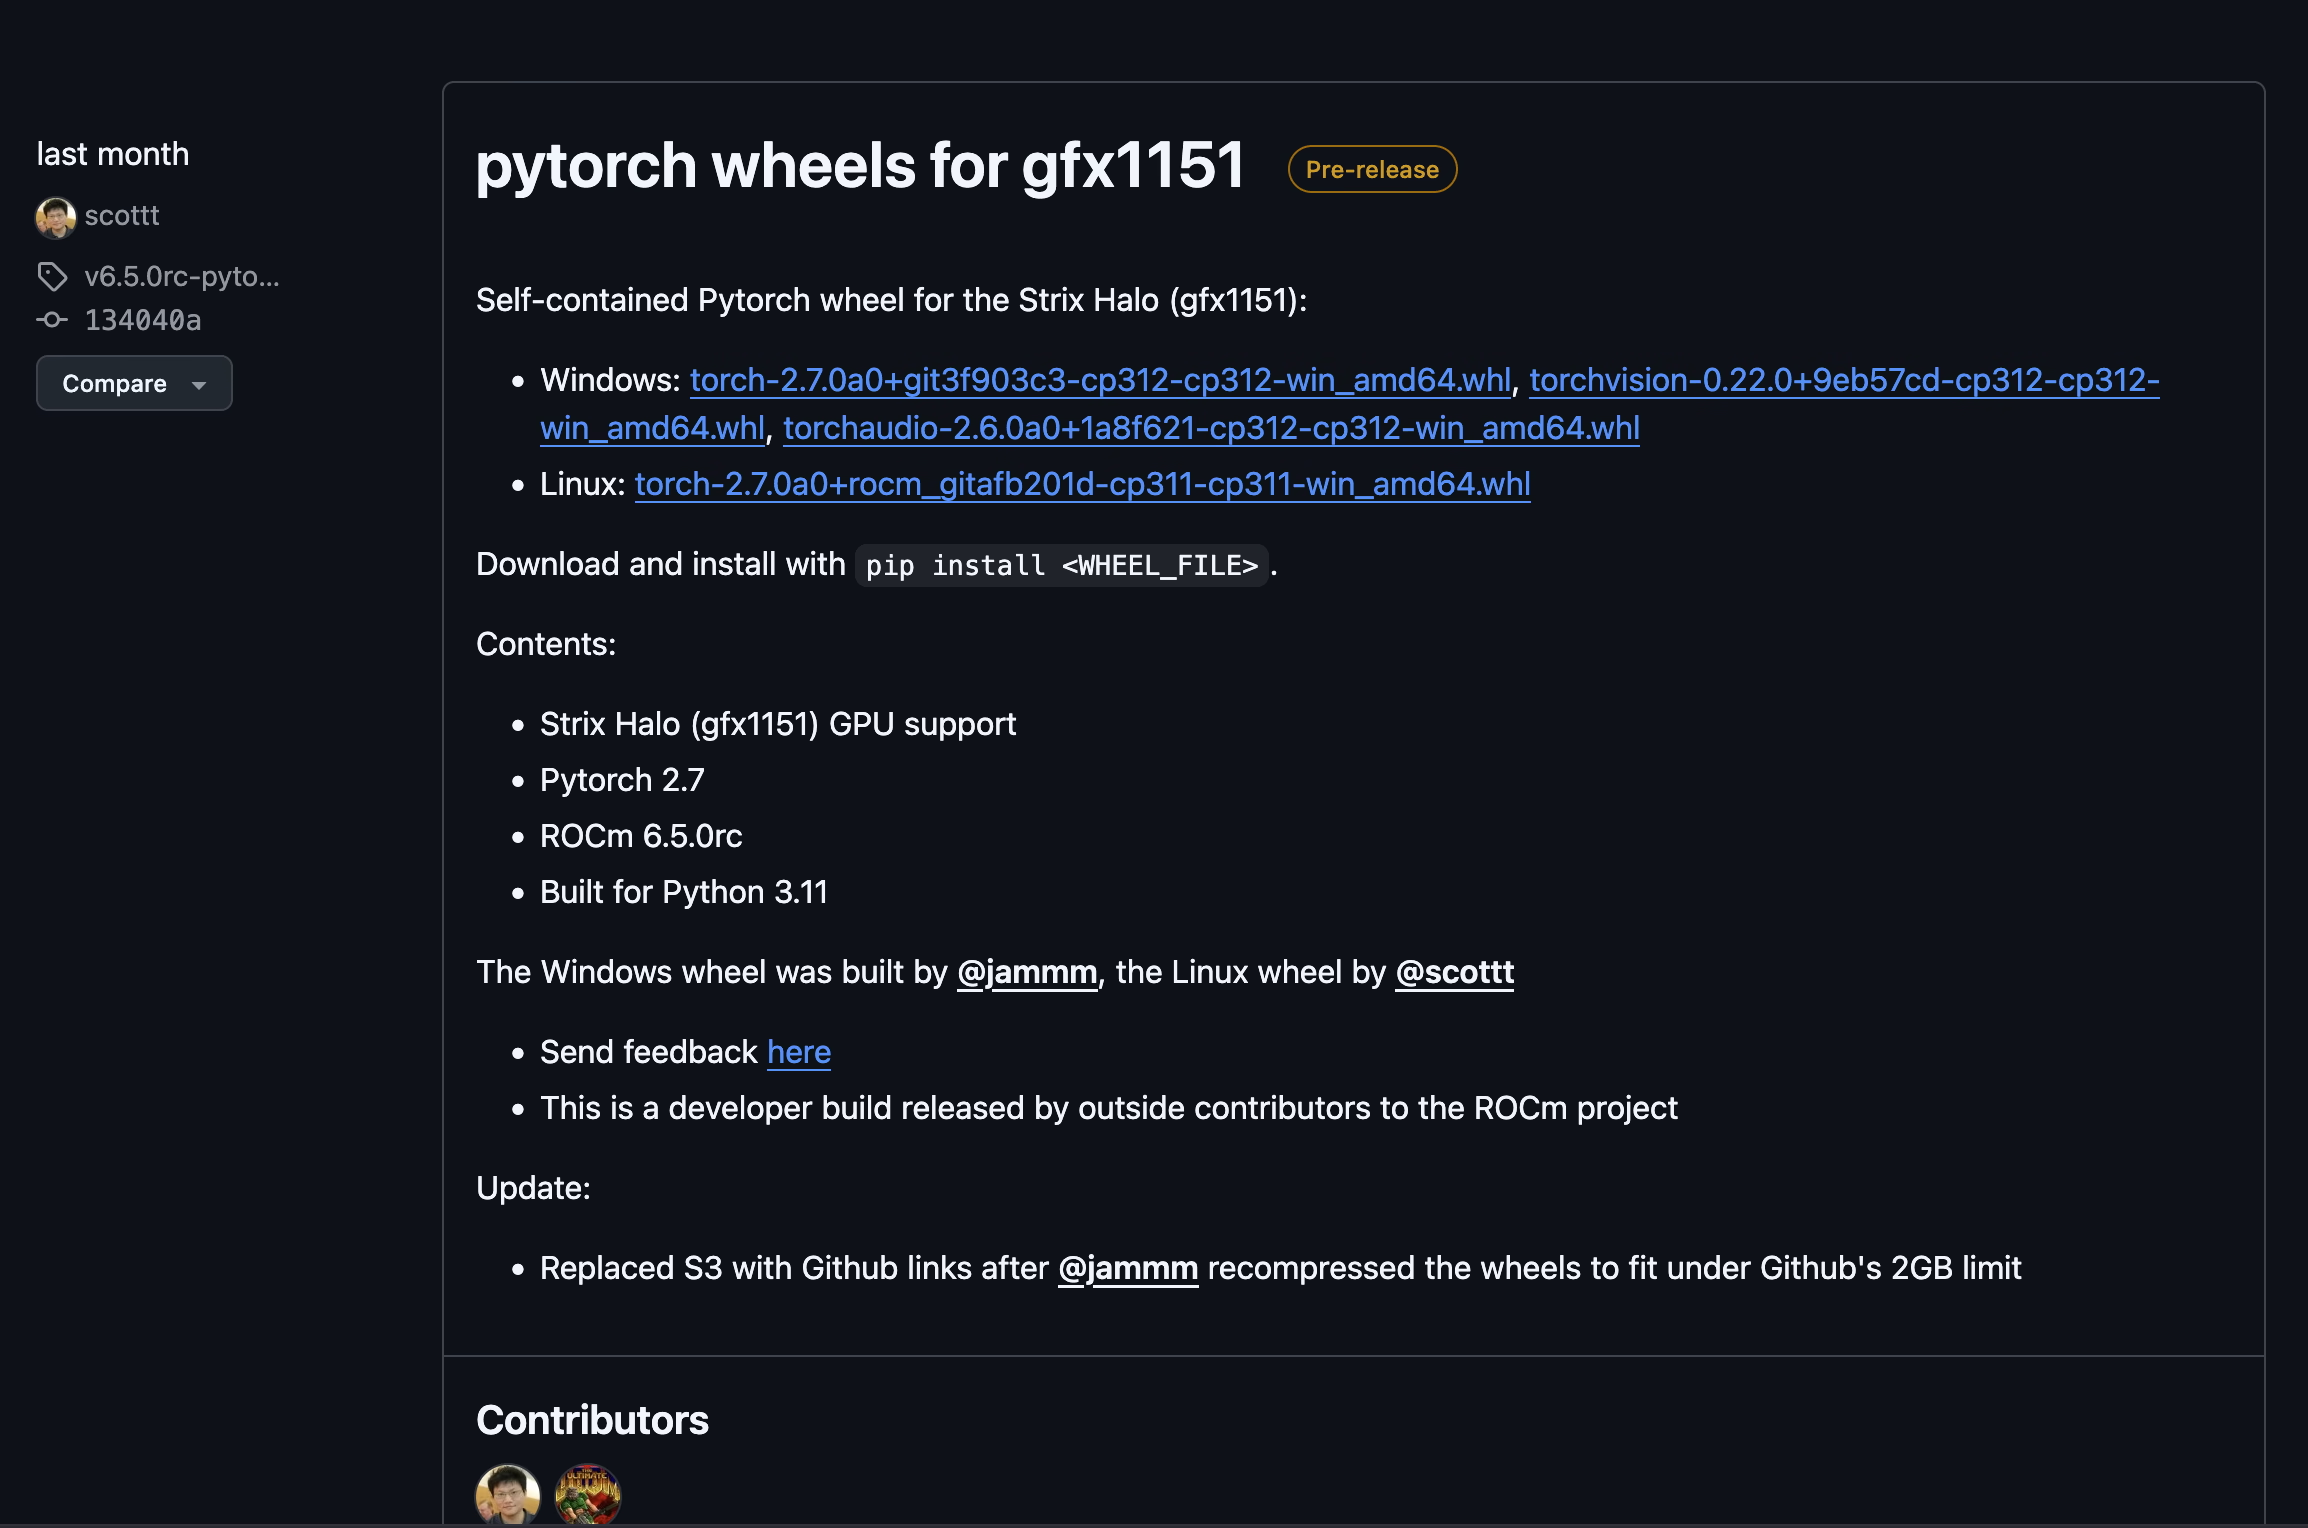
你要看[这里](<https://github.com/scottt/rocm-TheRock/releases > "这里"),看他发布的最新的 torch 包适用于哪个版本,我写的时候是 ROCm 6.5.0rc + Python 3.11
|
||
|
||
|
||
|
||
所以你要严格按照这个版本创建 Python 3.11 环境,ROCm 的话我试过了,按照默认安装 7.0.0rc 也可以用
|
||
|
||
### 安装
|
||
|
||
1. 创建一个虚拟环境并激活
|
||
```bash
|
||
conda create -n pytorch-base-cp311-rocm700 python=3.11 -y
|
||
conda activate pytorch-base-cp311-rocm700
|
||
```
|
||
|
||
2. 安装 ROCm
|
||
```python
|
||
python -m pip install \
|
||
--index-url https://d2awnip2yjpvqn.cloudfront.net/v2/gfx1151/ \
|
||
rocm[libraries,devel]
|
||
```
|
||
|
||
3. 执行 `rocm-sdk test` 不报错就安装成功了
|
||
4. 安装 pytorch,这里要从刚才找的那个仓库里下载
|
||
```python
|
||
python -m pip install \
|
||
https://github.com/scottt/rocm-TheRock/releases/download/v6.5.0rc-pytorch/torch-2.7.0a0+gitbfd8155-cp311-cp311-linux_x86_64.whl
|
||
```
|
||
|
||
5. 安装 numpy,这个官方是上传了的,所以用安装 ROCm 的地址安装
|
||
```python
|
||
python -m pip install \
|
||
--index-url https://d2awnip2yjpvqn.cloudfront.net/v2/gfx1151/ \
|
||
numpy
|
||
```
|
||
|
||
|
||
至此安装完毕,其他环境按需安装即可
|
||
|
||
## 检查
|
||
|
||
运行一个测试脚本
|
||
|
||
```python
|
||
import torch
|
||
|
||
# 检查 PyTorch 是否能找到 ROCm GPU
|
||
is_available = torch.cuda.is_available()
|
||
print(f"PyTorch ROCm support available: {is_available}")
|
||
|
||
if is_available:
|
||
# 打印找到的 GPU 数量
|
||
device_count = torch.cuda.device_count()
|
||
print(f"Found {device_count} ROCm device(s).")
|
||
|
||
# 打印 GPU 的名称 (应该会显示 gfx1151 或 AMD Radeon Graphics)
|
||
device_name = torch.cuda.get_device_name(0)
|
||
print(f"Device 0 Name: {device_name}")
|
||
|
||
# 尝试在 GPU 上创建一个张量并执行一个简单操作
|
||
try:
|
||
x = torch.tensor([1.0, 2.0, 3.0]).to("cuda")
|
||
y = x * 2
|
||
print("Successfully created a tensor on GPU and performed an operation.")
|
||
print("Result:", y)
|
||
except Exception as e:
|
||
print(f"An error occurred during GPU operation: {e}")
|
||
```
|
||
|
||
|
||
输出如下,有效
|
||
|
||
```python
|
||
PyTorch ROCm support available: True
|
||
Found 1 ROCm device(s).
|
||
Device 0 Name: AMD Radeon Graphics
|
||
Successfully created a tensor on GPU and performed an operation.
|
||
Result: tensor([2., 4., 6.], device='cuda:0')
|
||
```
|