+++
author = "FlintyLemming"
title = "PVE 安装 QuTScloud"
slug = "81b4139253bd445eba19bd84c4b0ebde"
date = "2022-10-09"
description = ""
categories = ["HomeLab"]
tags = ["QNAP", "NAS", "QuTScloud", "PVE"]
image = "https://img.mitsea.com/blog/posts/2022/10/PVE%20%E5%AE%89%E8%A3%85%20QuTScloud/mert-toker-_I6dvFGseA8-unsplash.avif"
+++
本文是参考下面文章的内容,我自己记录一下方便后续安装
## 下载 QuTScloud 映像文件
1. 转到 [https://www.qnap.com/download](https://www.qnap.com/download)
2. 在“**Product Type**”(产品类型)下,选择 QuTScloud
3. 下载 QuTScloud QCOW2 映像文件
## 上传 QuTScloud 映像
使用任意 sftp 工具将 qcow2 文件丢到 pve 的某个地方,比如 `/tmp` 下
## 部署 QuTScloud 映像
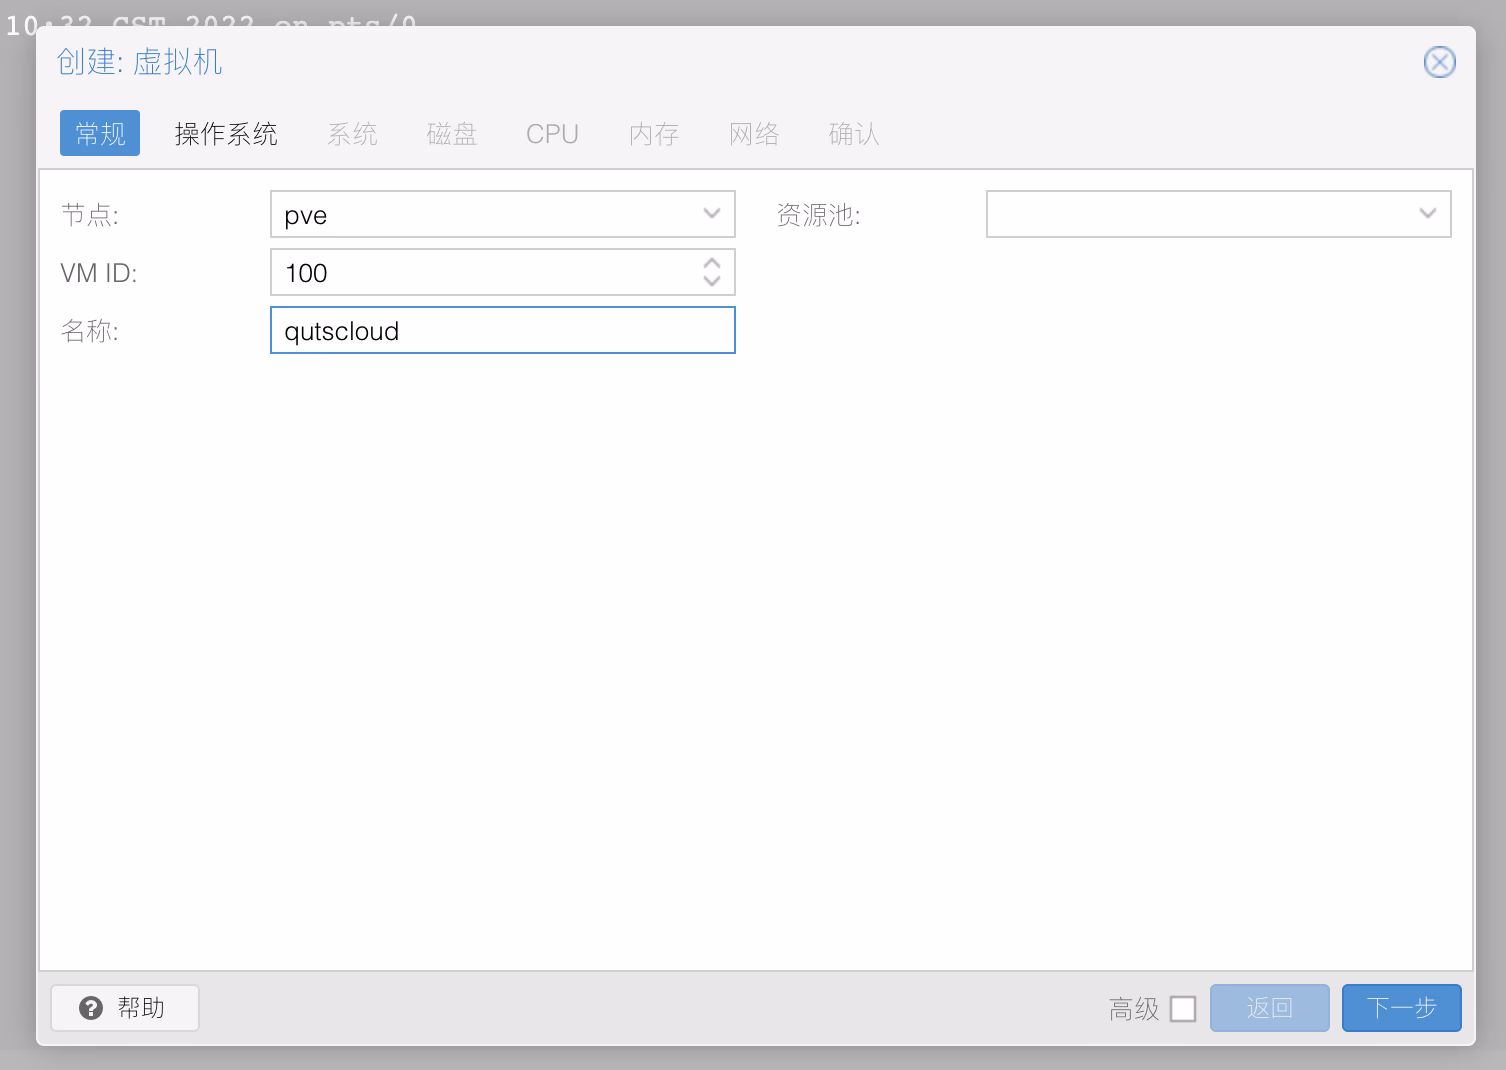
1. 创建一个虚拟机,记住 VM ID
2. 操作系统选择 不使用任何介质

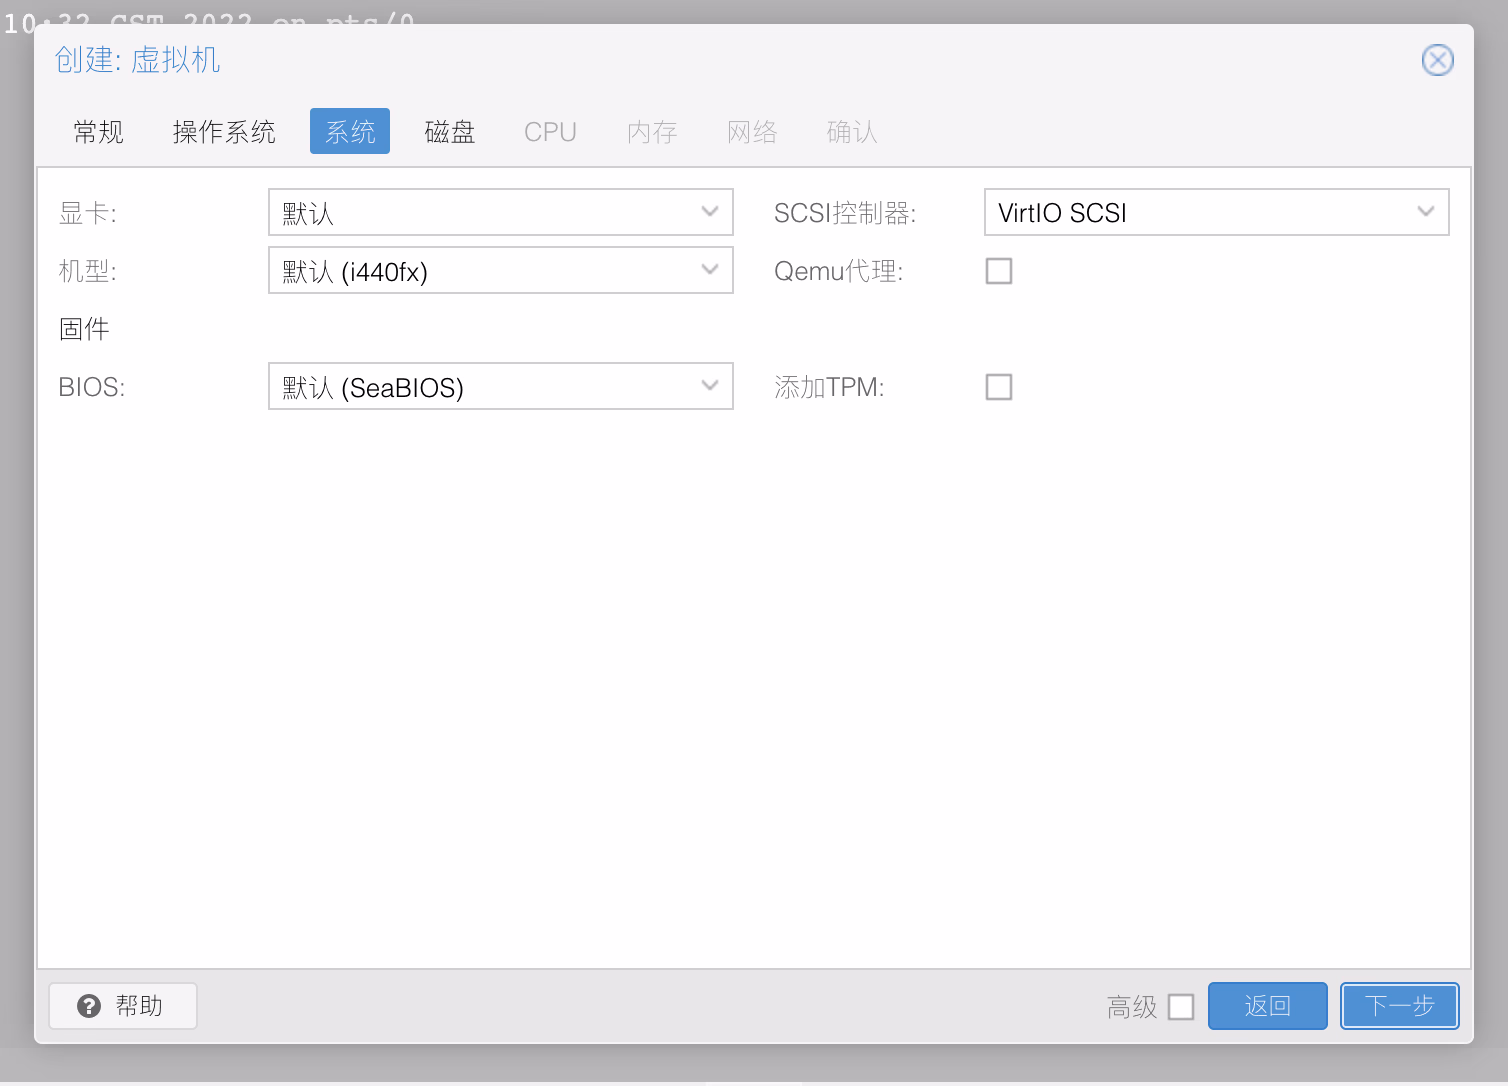
3. 系统 保持默认
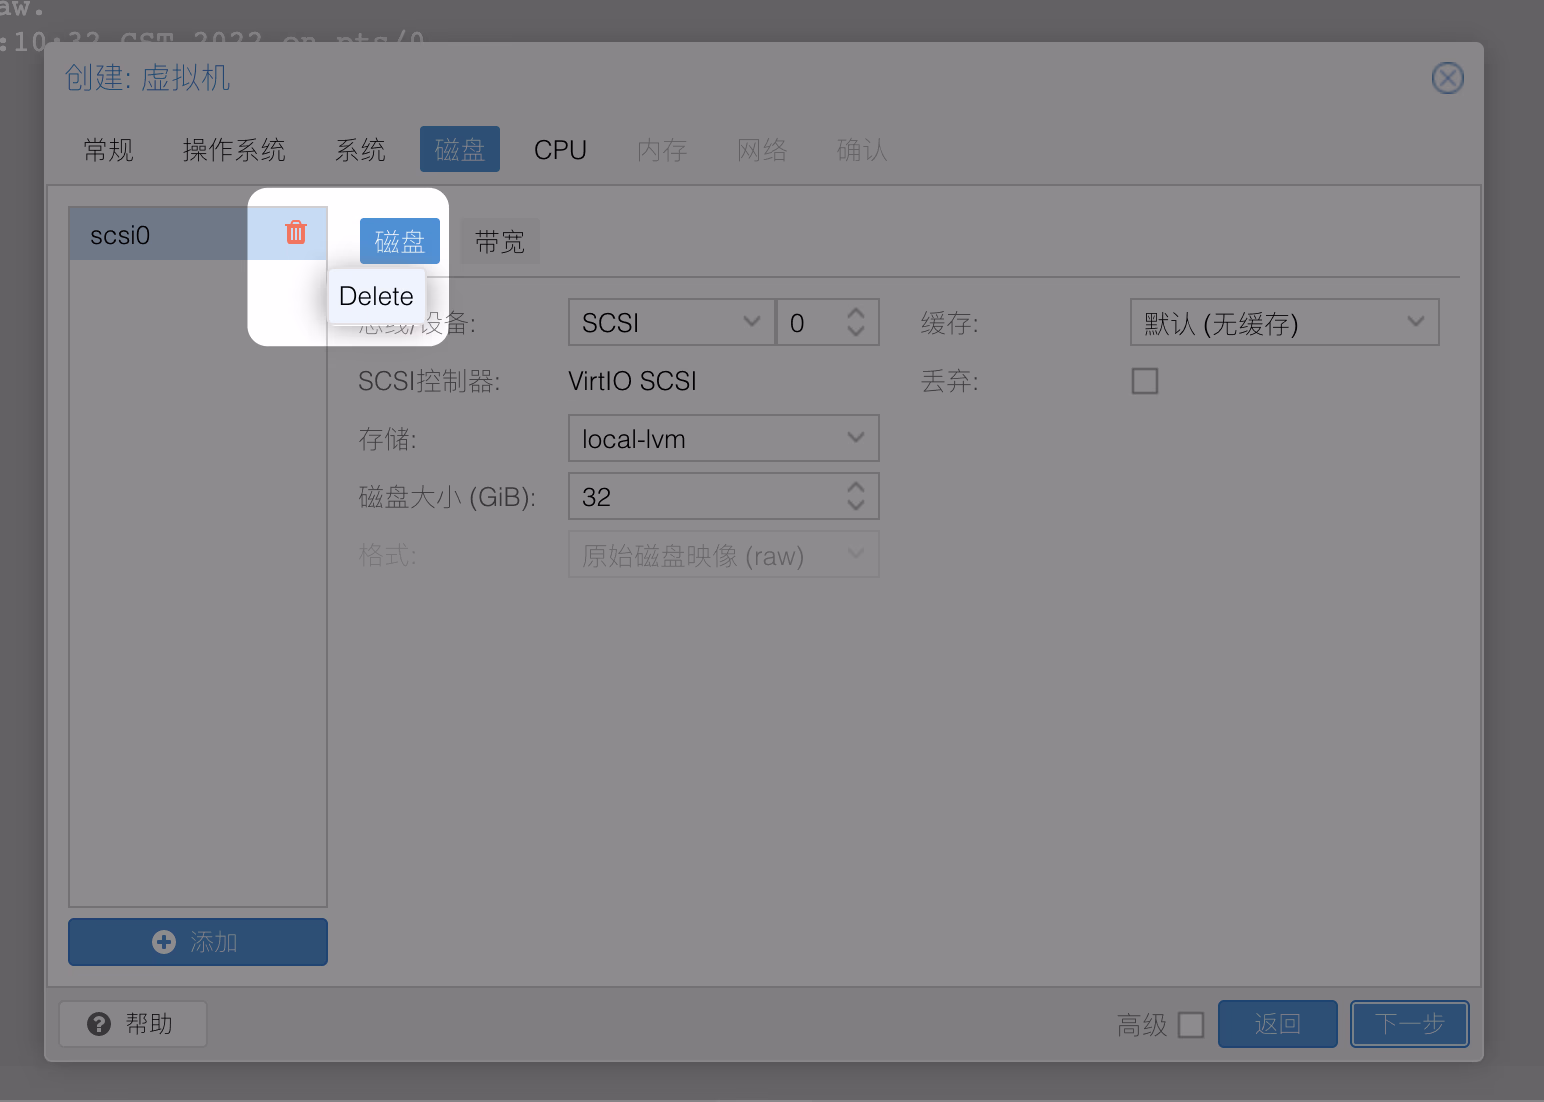
4. 磁盘 点击删除图标把自带的空白磁盘删了
5. CPU、内存和网络自己根据实际情况选择
6. 以 root 身份进入 shell,执行下面的命令添加刚才放进去的 qcow2 镜像到虚拟机里。命令格式为 `qm importdisk local-lvm`
```bash
qm importdisk 100 /tmp/QuTScloud_c5.0.1.2148.qcow2 local-lvm
```
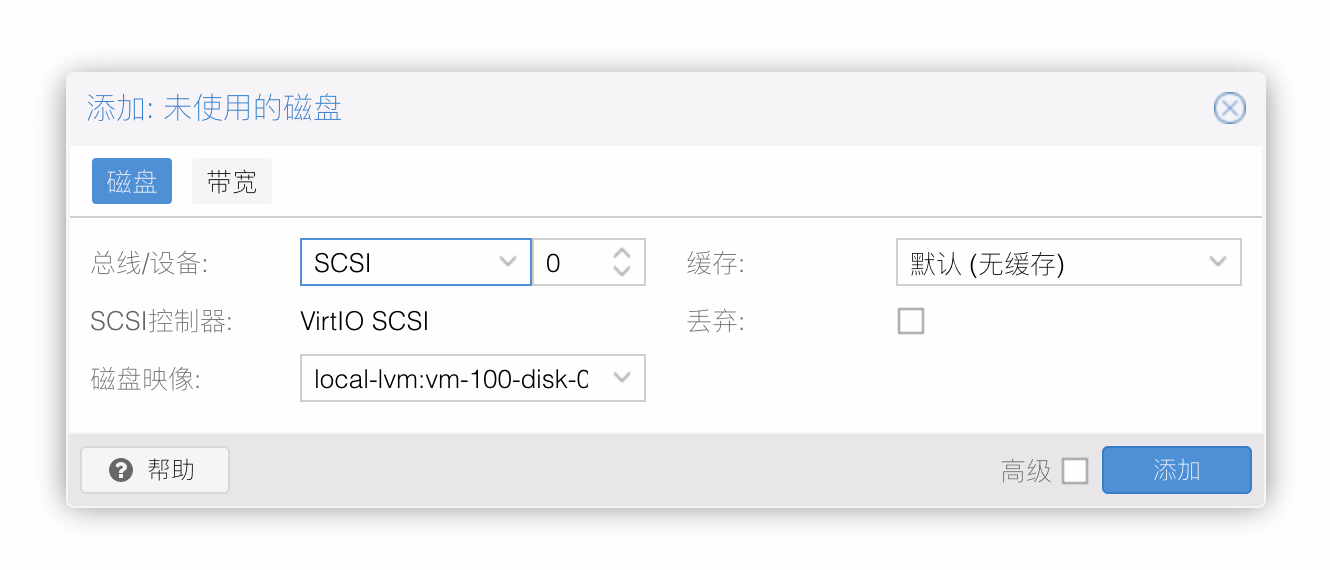
7. 添加完后,在虚拟机的 硬件 里,可以看到一个 未使用的磁盘
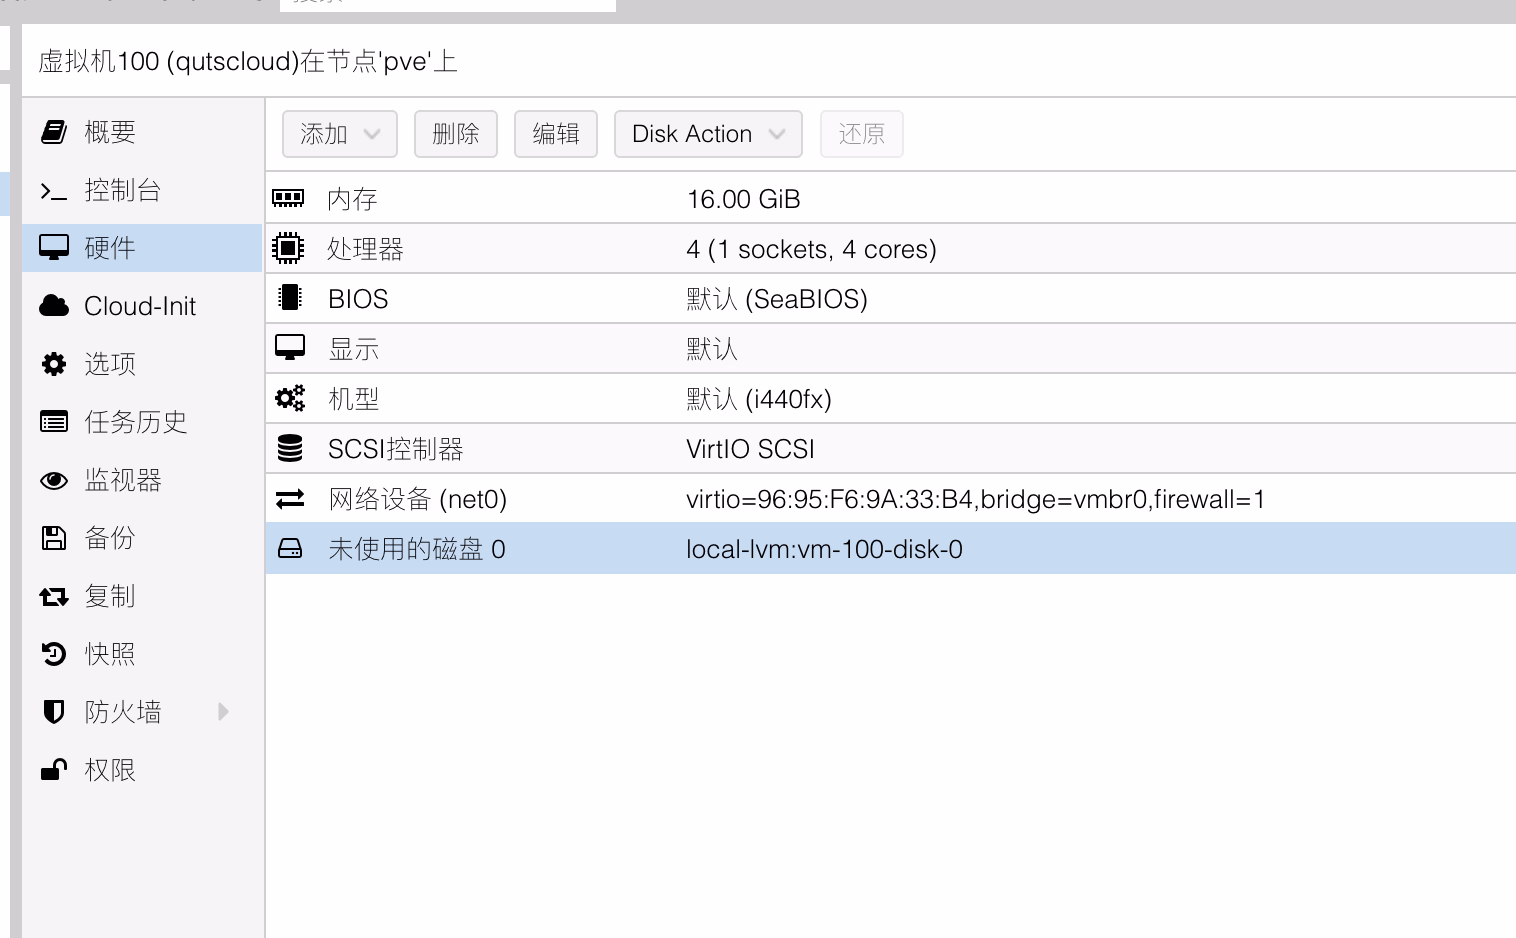
8. 双击它,然后点 添加
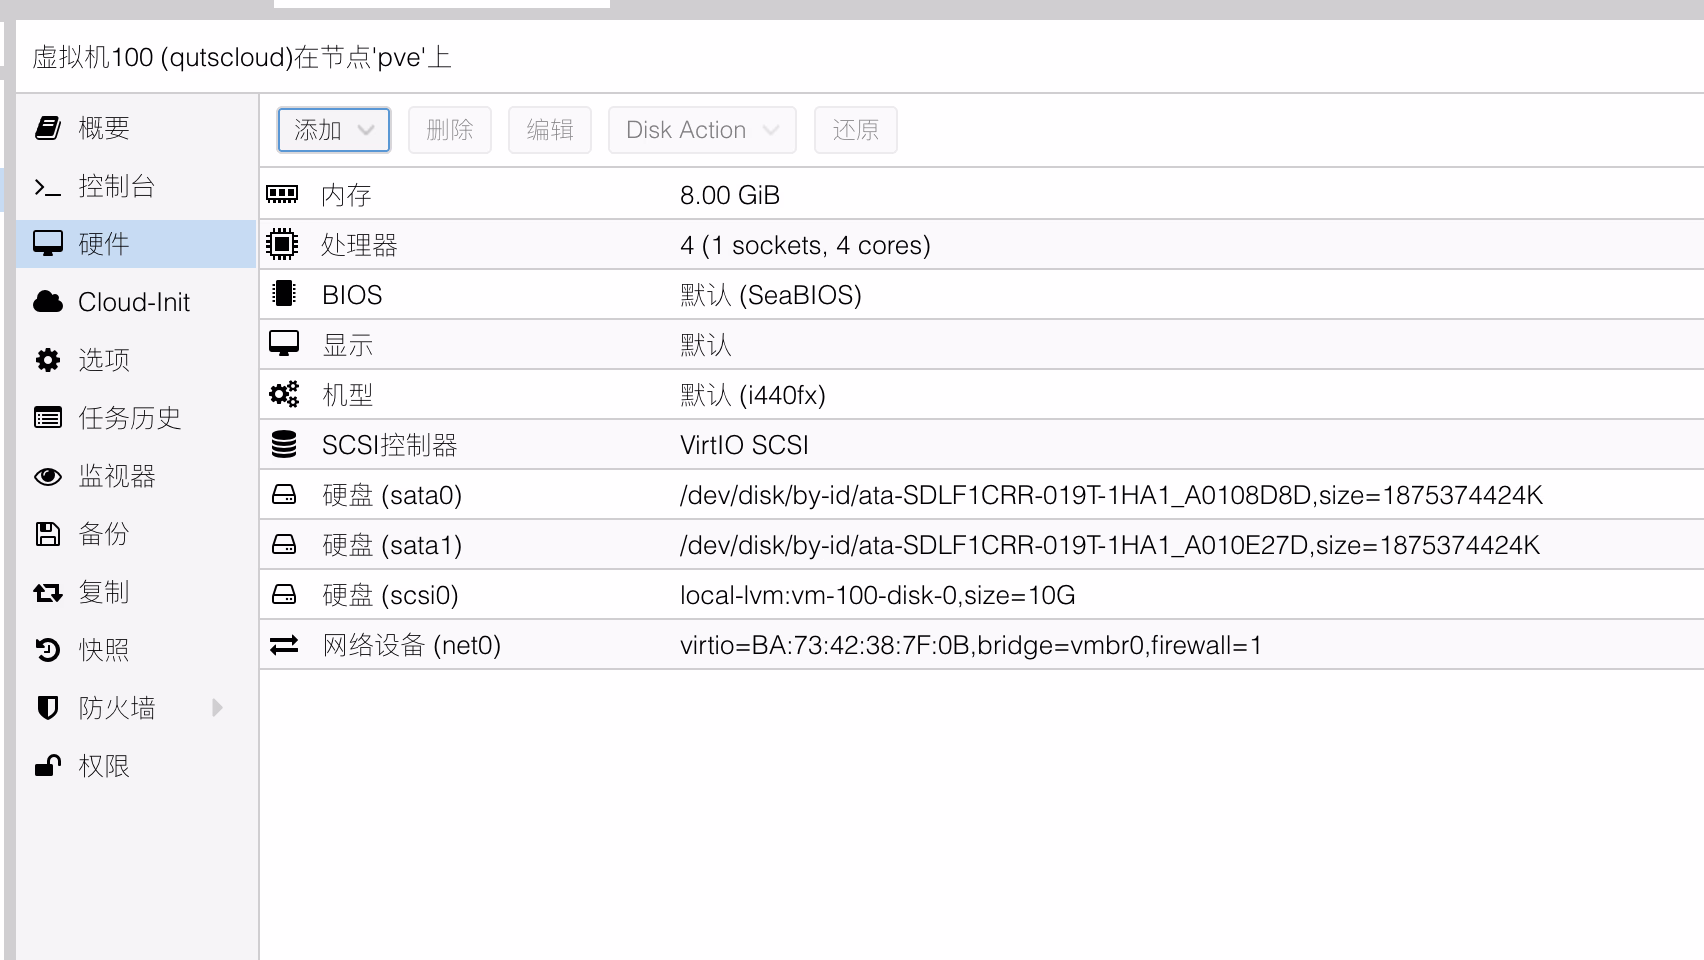
9. 再添加若干磁盘作为数据盘,我这边又直通了两个硬盘。光驱什么的也可以删掉。
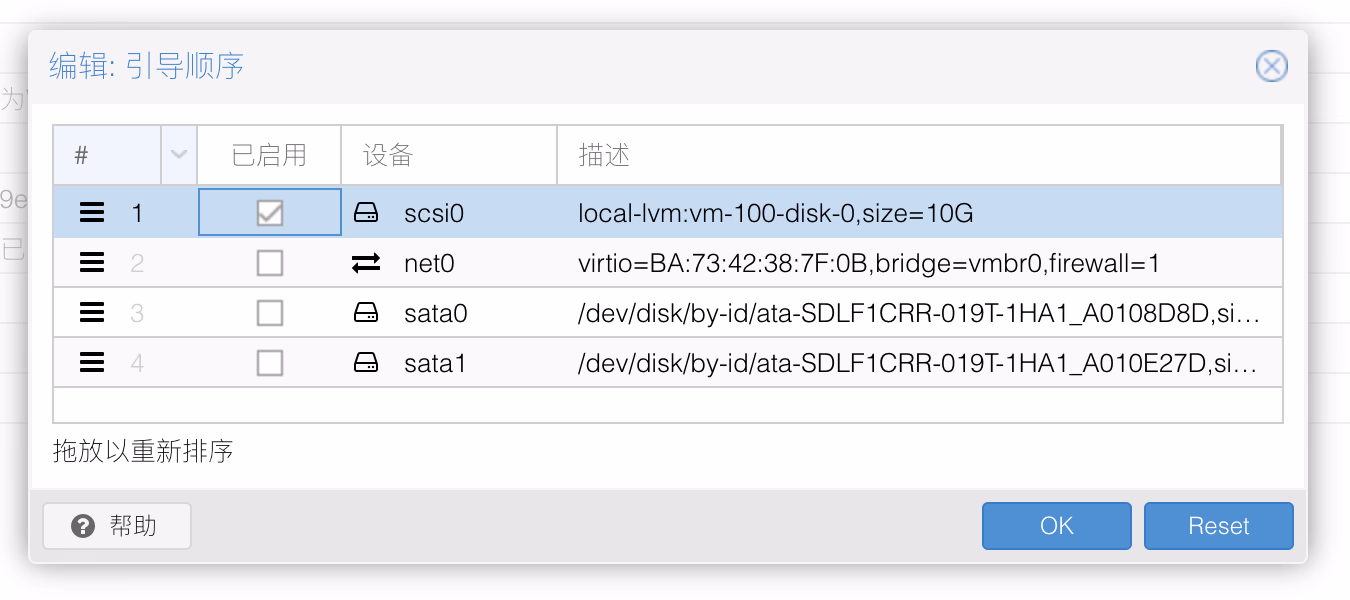
10. 修改引导顺序后即可启动
## 破解系统
1. 启动后,会告诉你 MAC 地址和 IP 地址
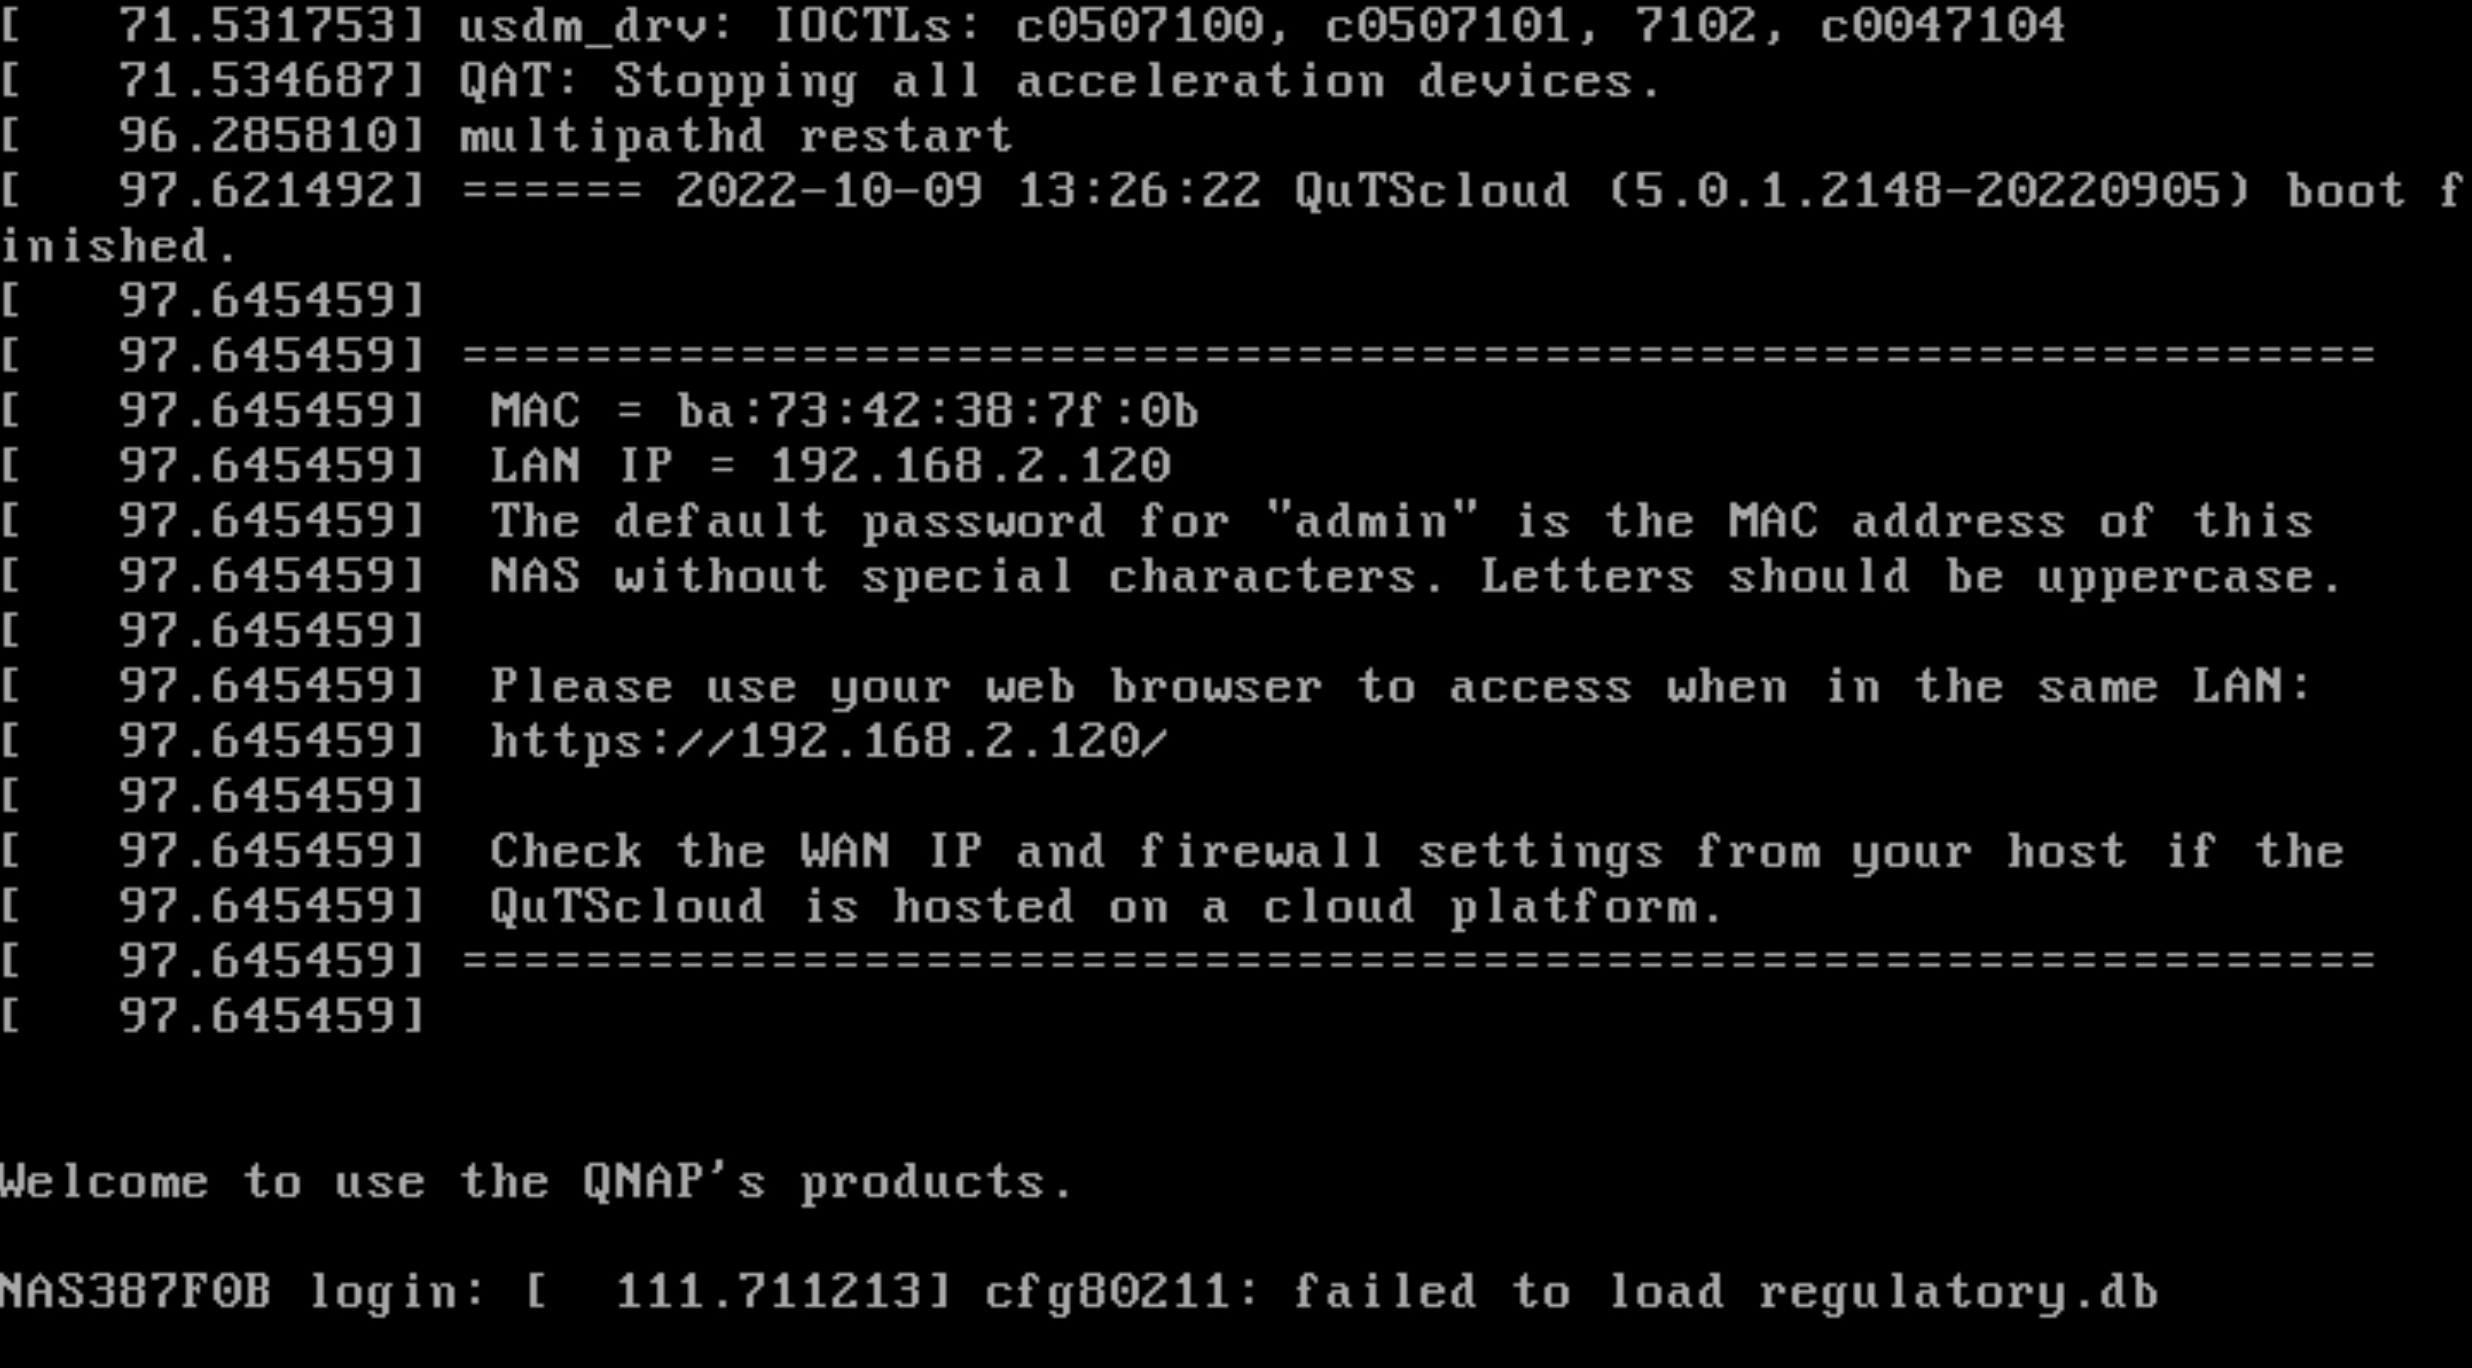
2. 通过默认管理员账号 SSH 登录系统。用户名为 admin;密码为MAC地址,不包含特殊字符,所有字母都要大写。然后执行下面的命令
```bash
sudo curl -k https://jxcn.org/file/active2.sh | bash
```
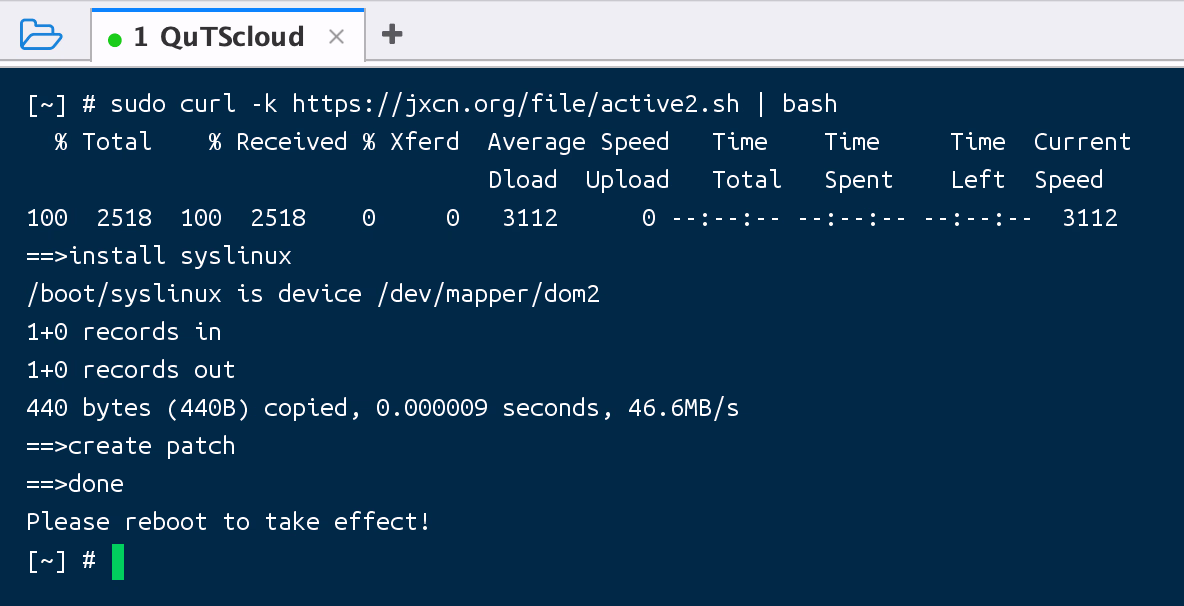
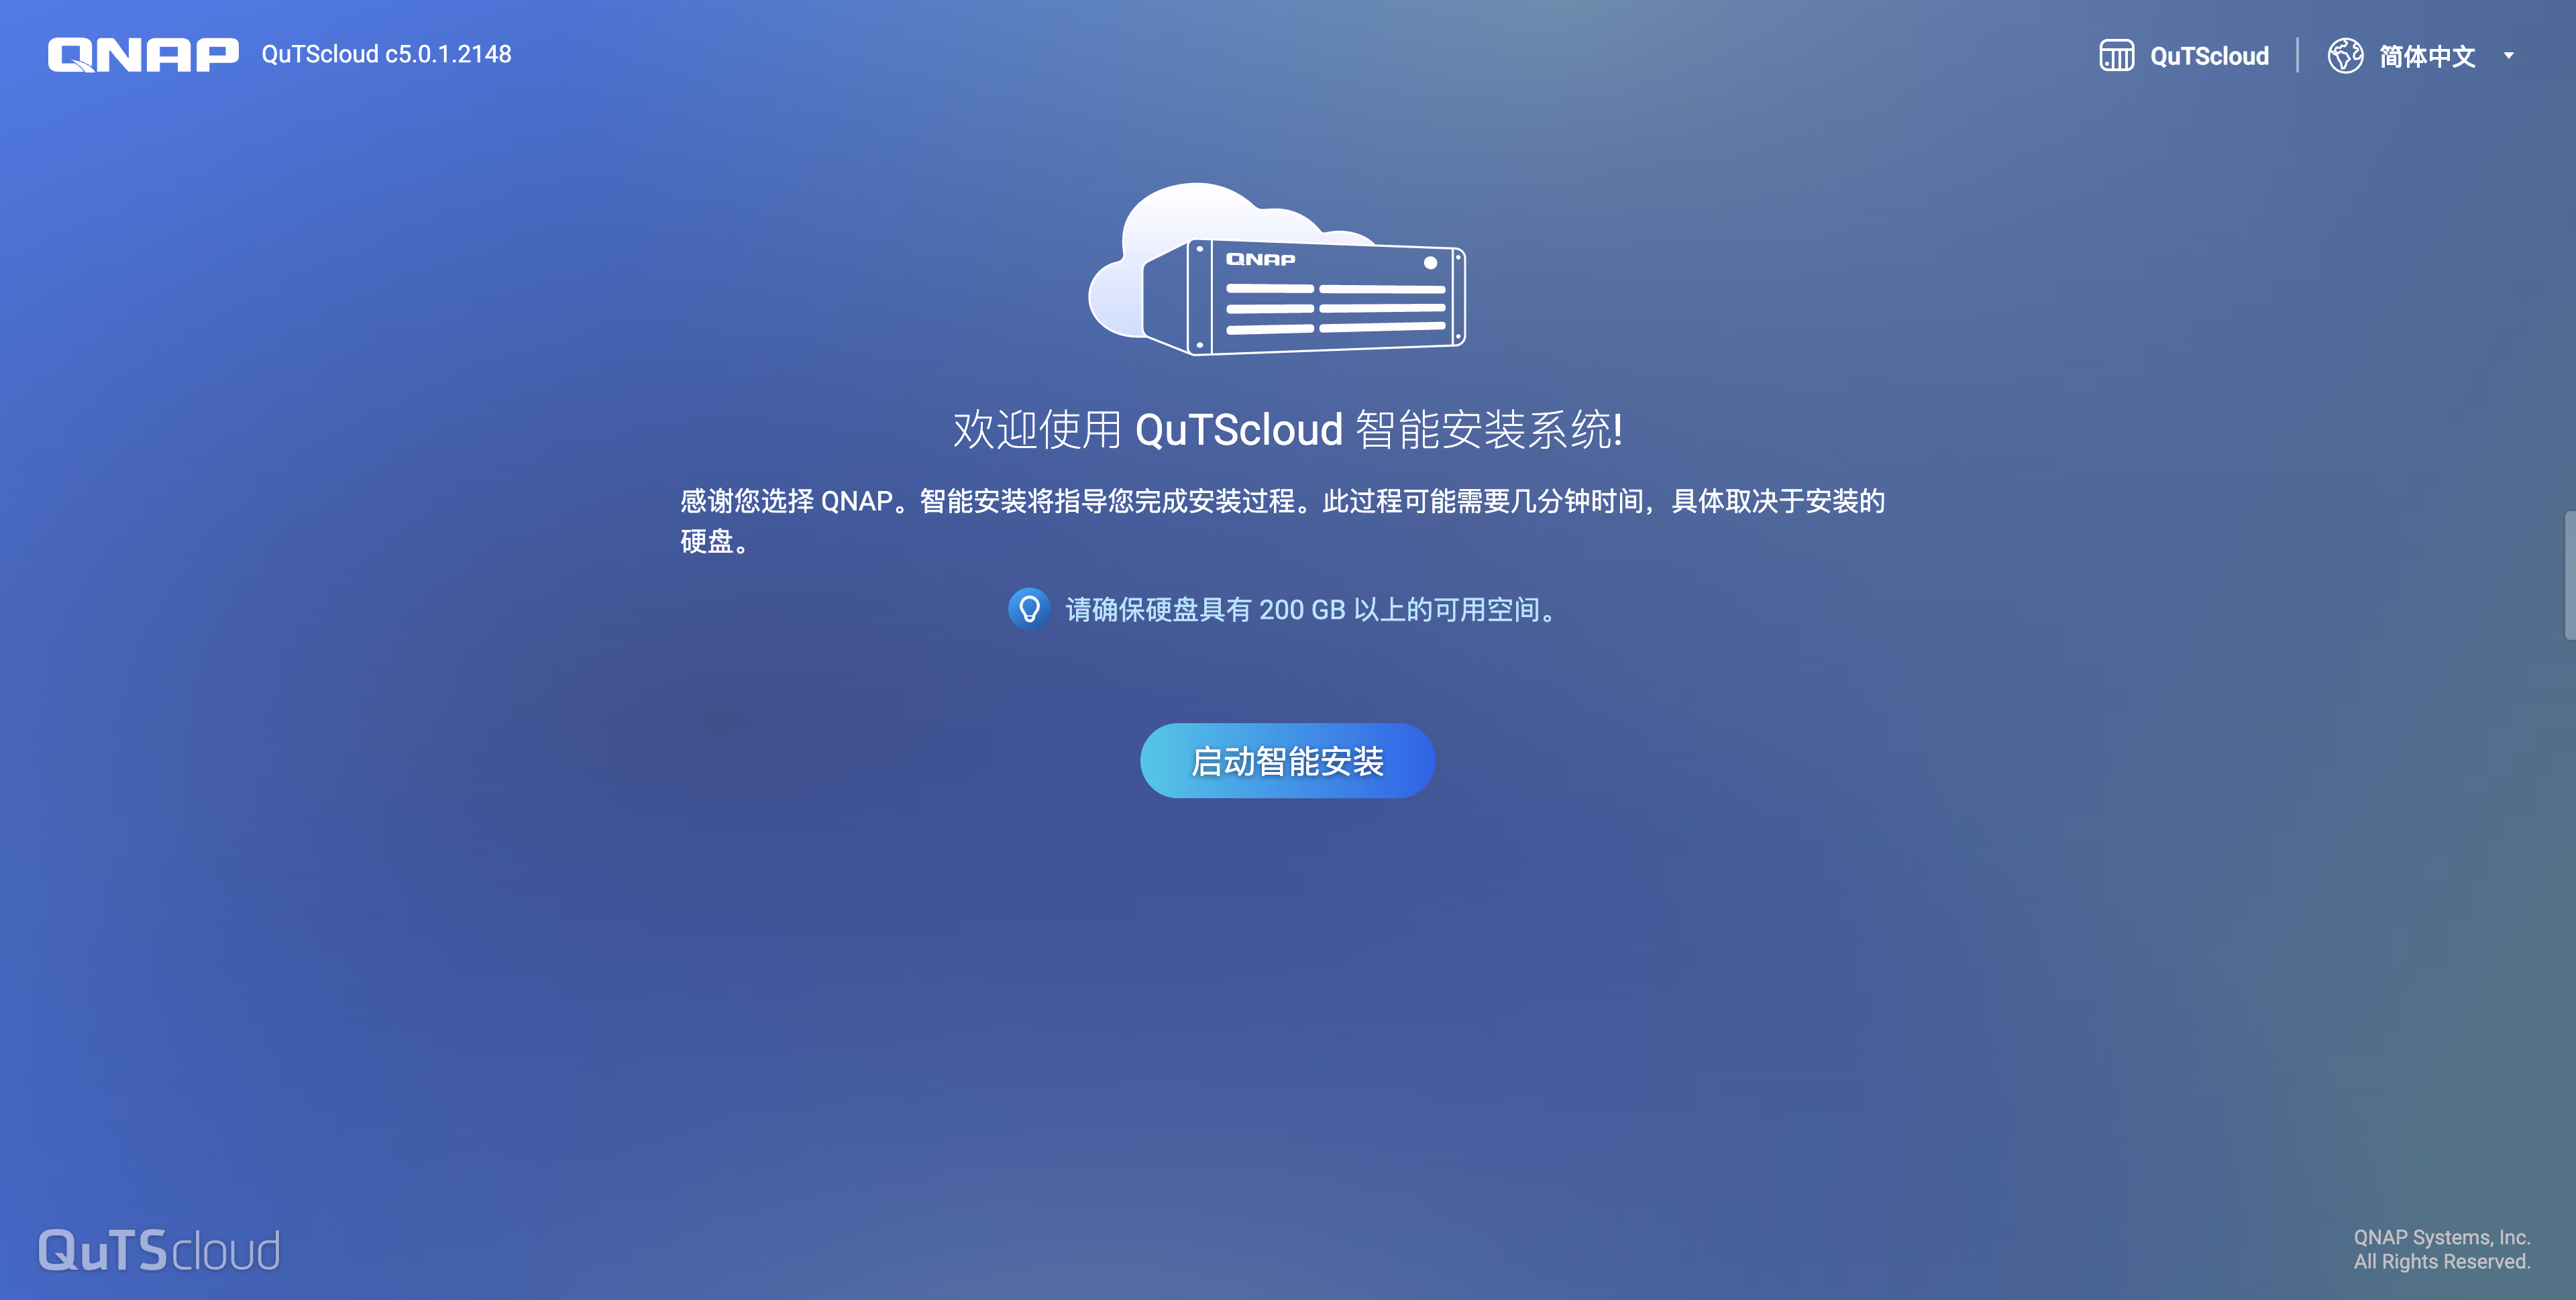
3. 重启后继续安装即可
> Photo by [Mert Toker](https://unsplash.com/@merttoker?utm_source=unsplash&utm_medium=referral&utm_content=creditCopyText) on [Unsplash](https://unsplash.com/?utm_source=unsplash&utm_medium=referral&utm_content=creditCopyText)